

ASSEMBLING THE ARDUINO
STEP 2 — ATTACH THE SHIELD
The next step is to attach a shield to the Arduino. For this activity, we will be using something called an Ethernet Shield. Although we won’t actually be using the shield’s ethernet port, we will be using its microSD card slot to hold our microSD card.
The shield attached to the top of the Arduino. Line up the metal headers on the bottom of the shield with the corresponding pinouts on the Arduino. Then carefully slide the headers down into the pinouts, making sure not to bend or break them. Once all the headers are partially inserted, firmly (but again carefully) push down on the entire shield until it is fully seated.
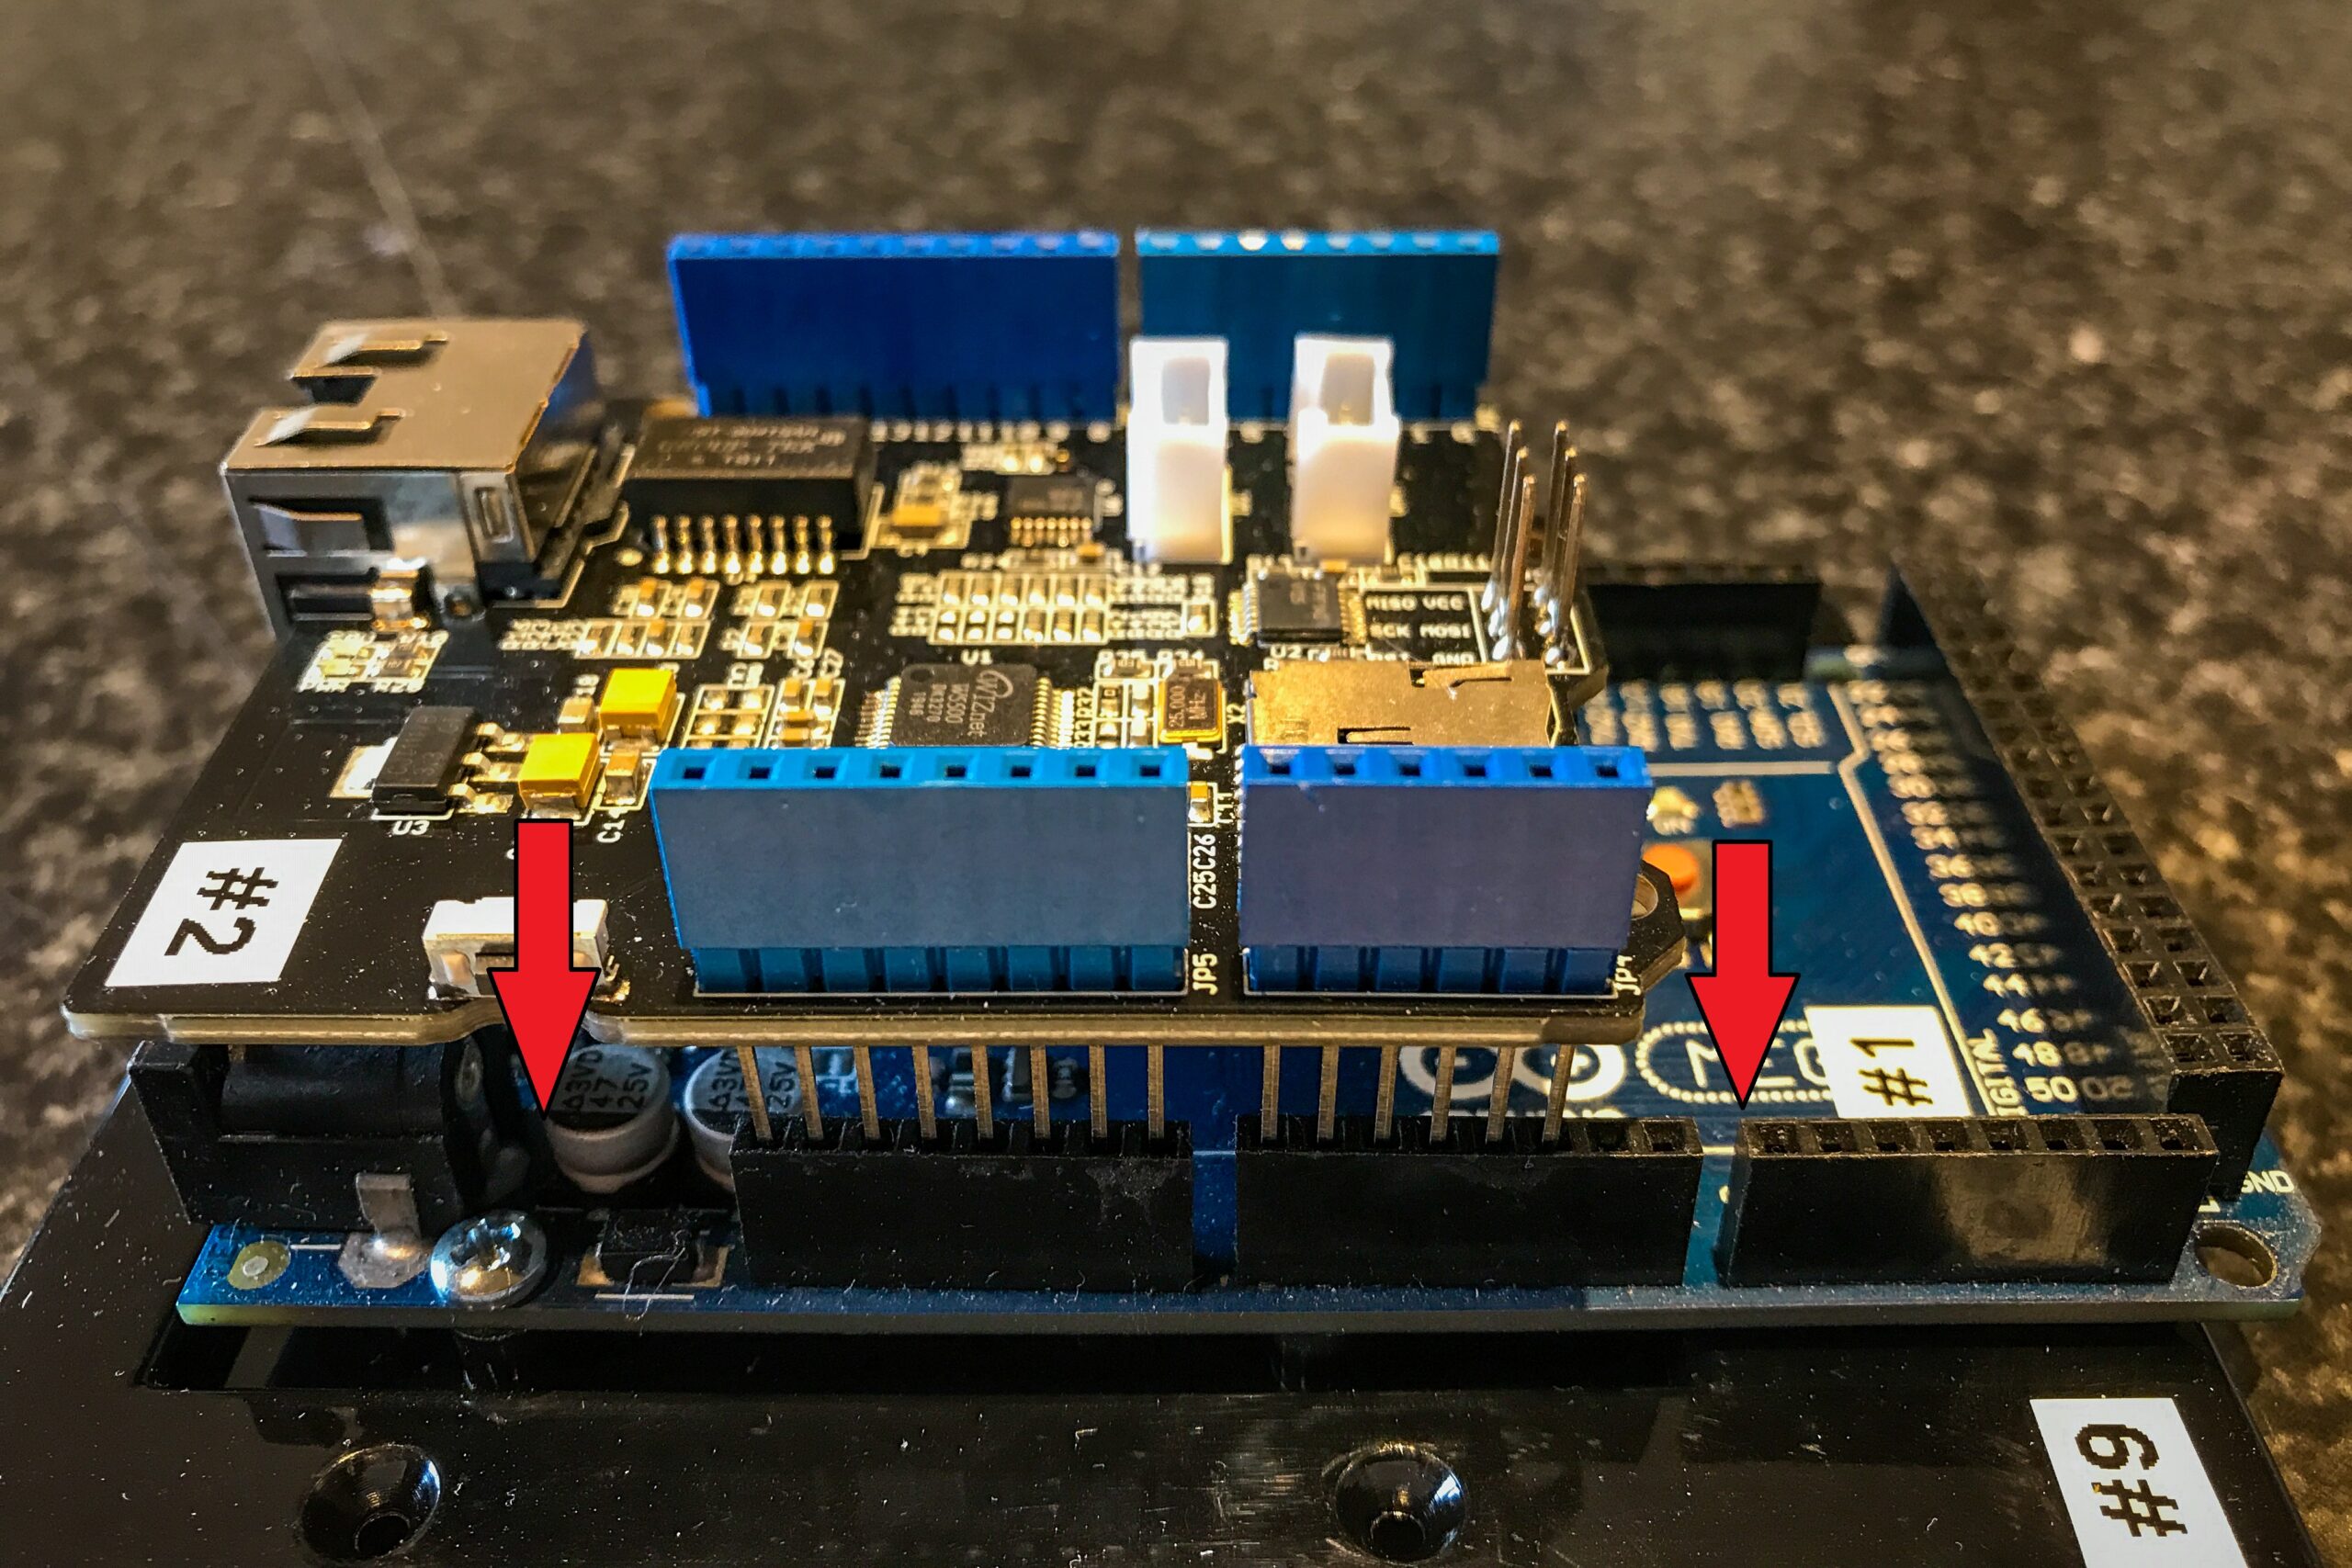
Line up the Ethernet Shield and press down evenly

Be gentle and make sure not to bend the headers
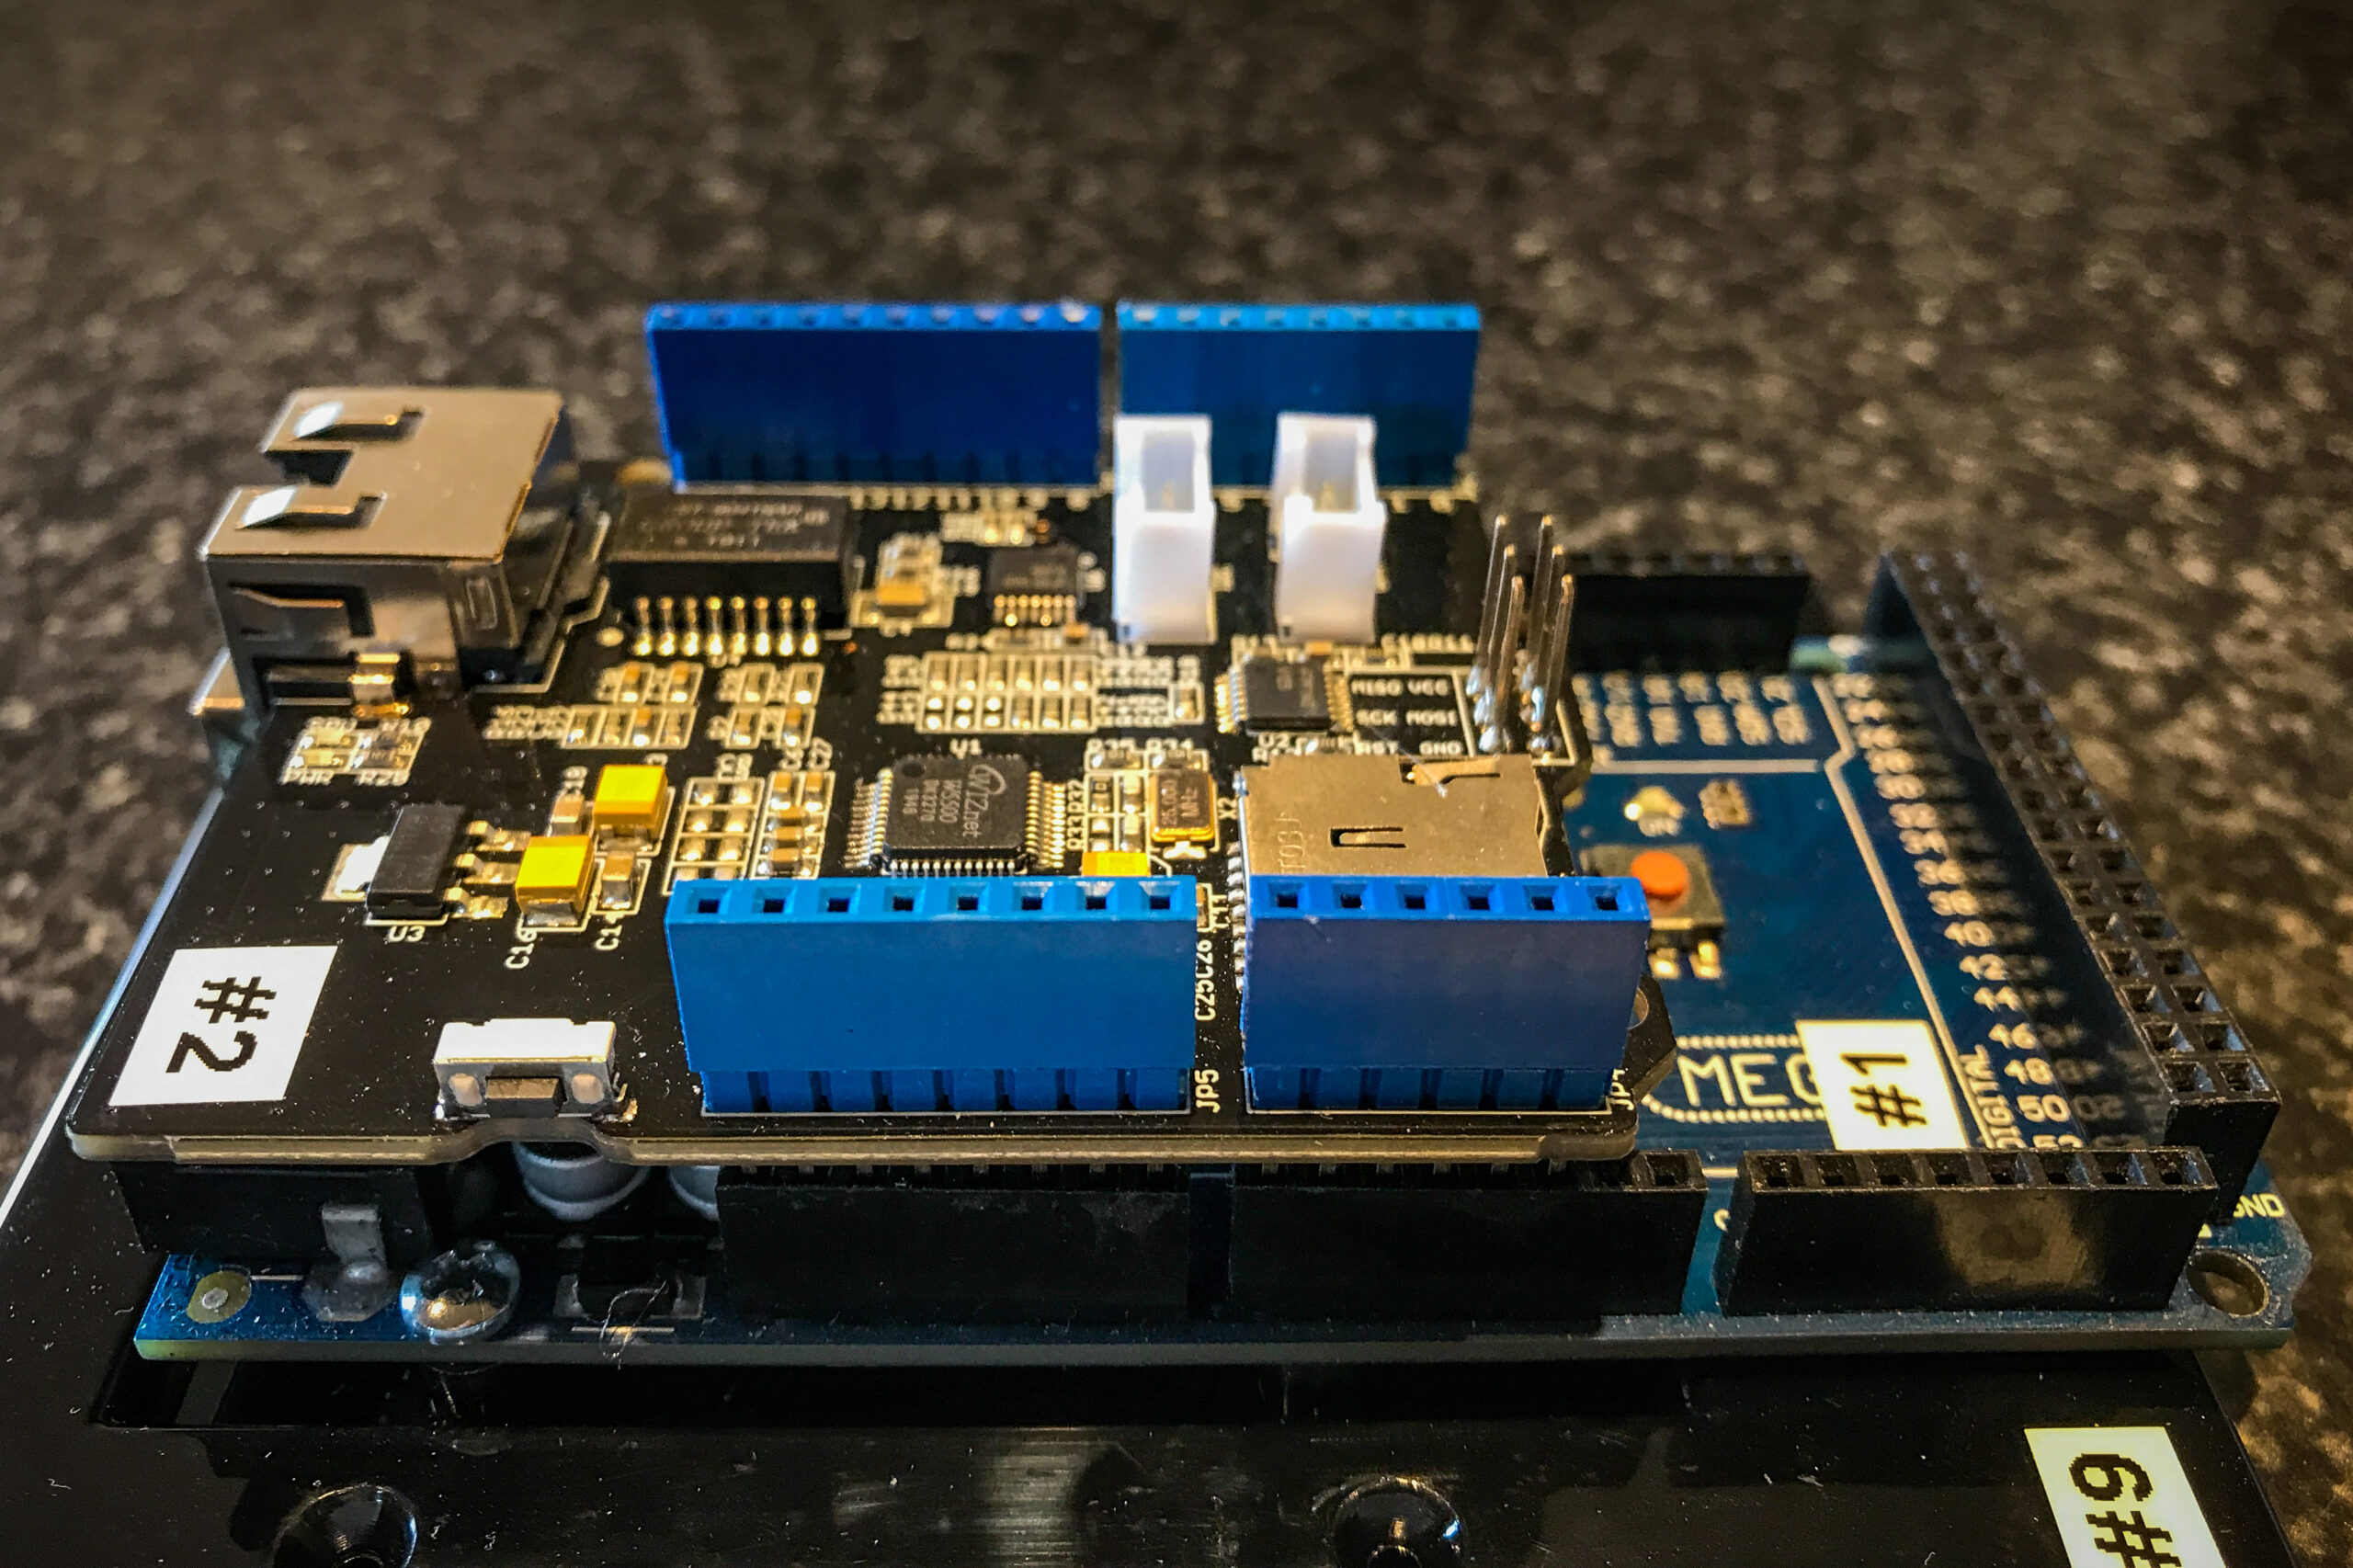
Fully attached Ethernet Shield
Once the shield is attached, take the microSD card out of its black adapter and slide it into the microSD card slot on the top of the shield. Make sure to push it all the way in until it snaps in place.