

ASSEMBLING THE ARDUINO
STEP 1 — ORGANIZE THE PARTS
There are twelve individual parts needed to complete the payload. They are shown below. Before you begin assembling the payload, make sure you have all twelve parts. You will also need access to a computer that has a USB port and an internet connection.
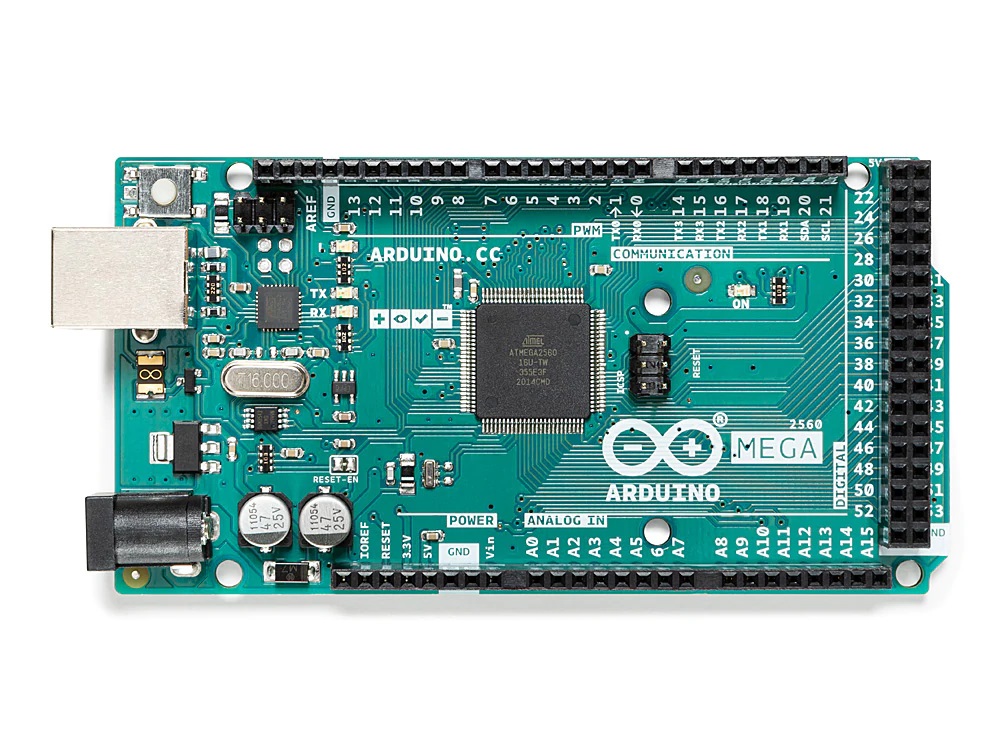
#1 – Arduino Mega 2560
This microcontroller is the “brains” of the payload, running the code that tells everything what to do.
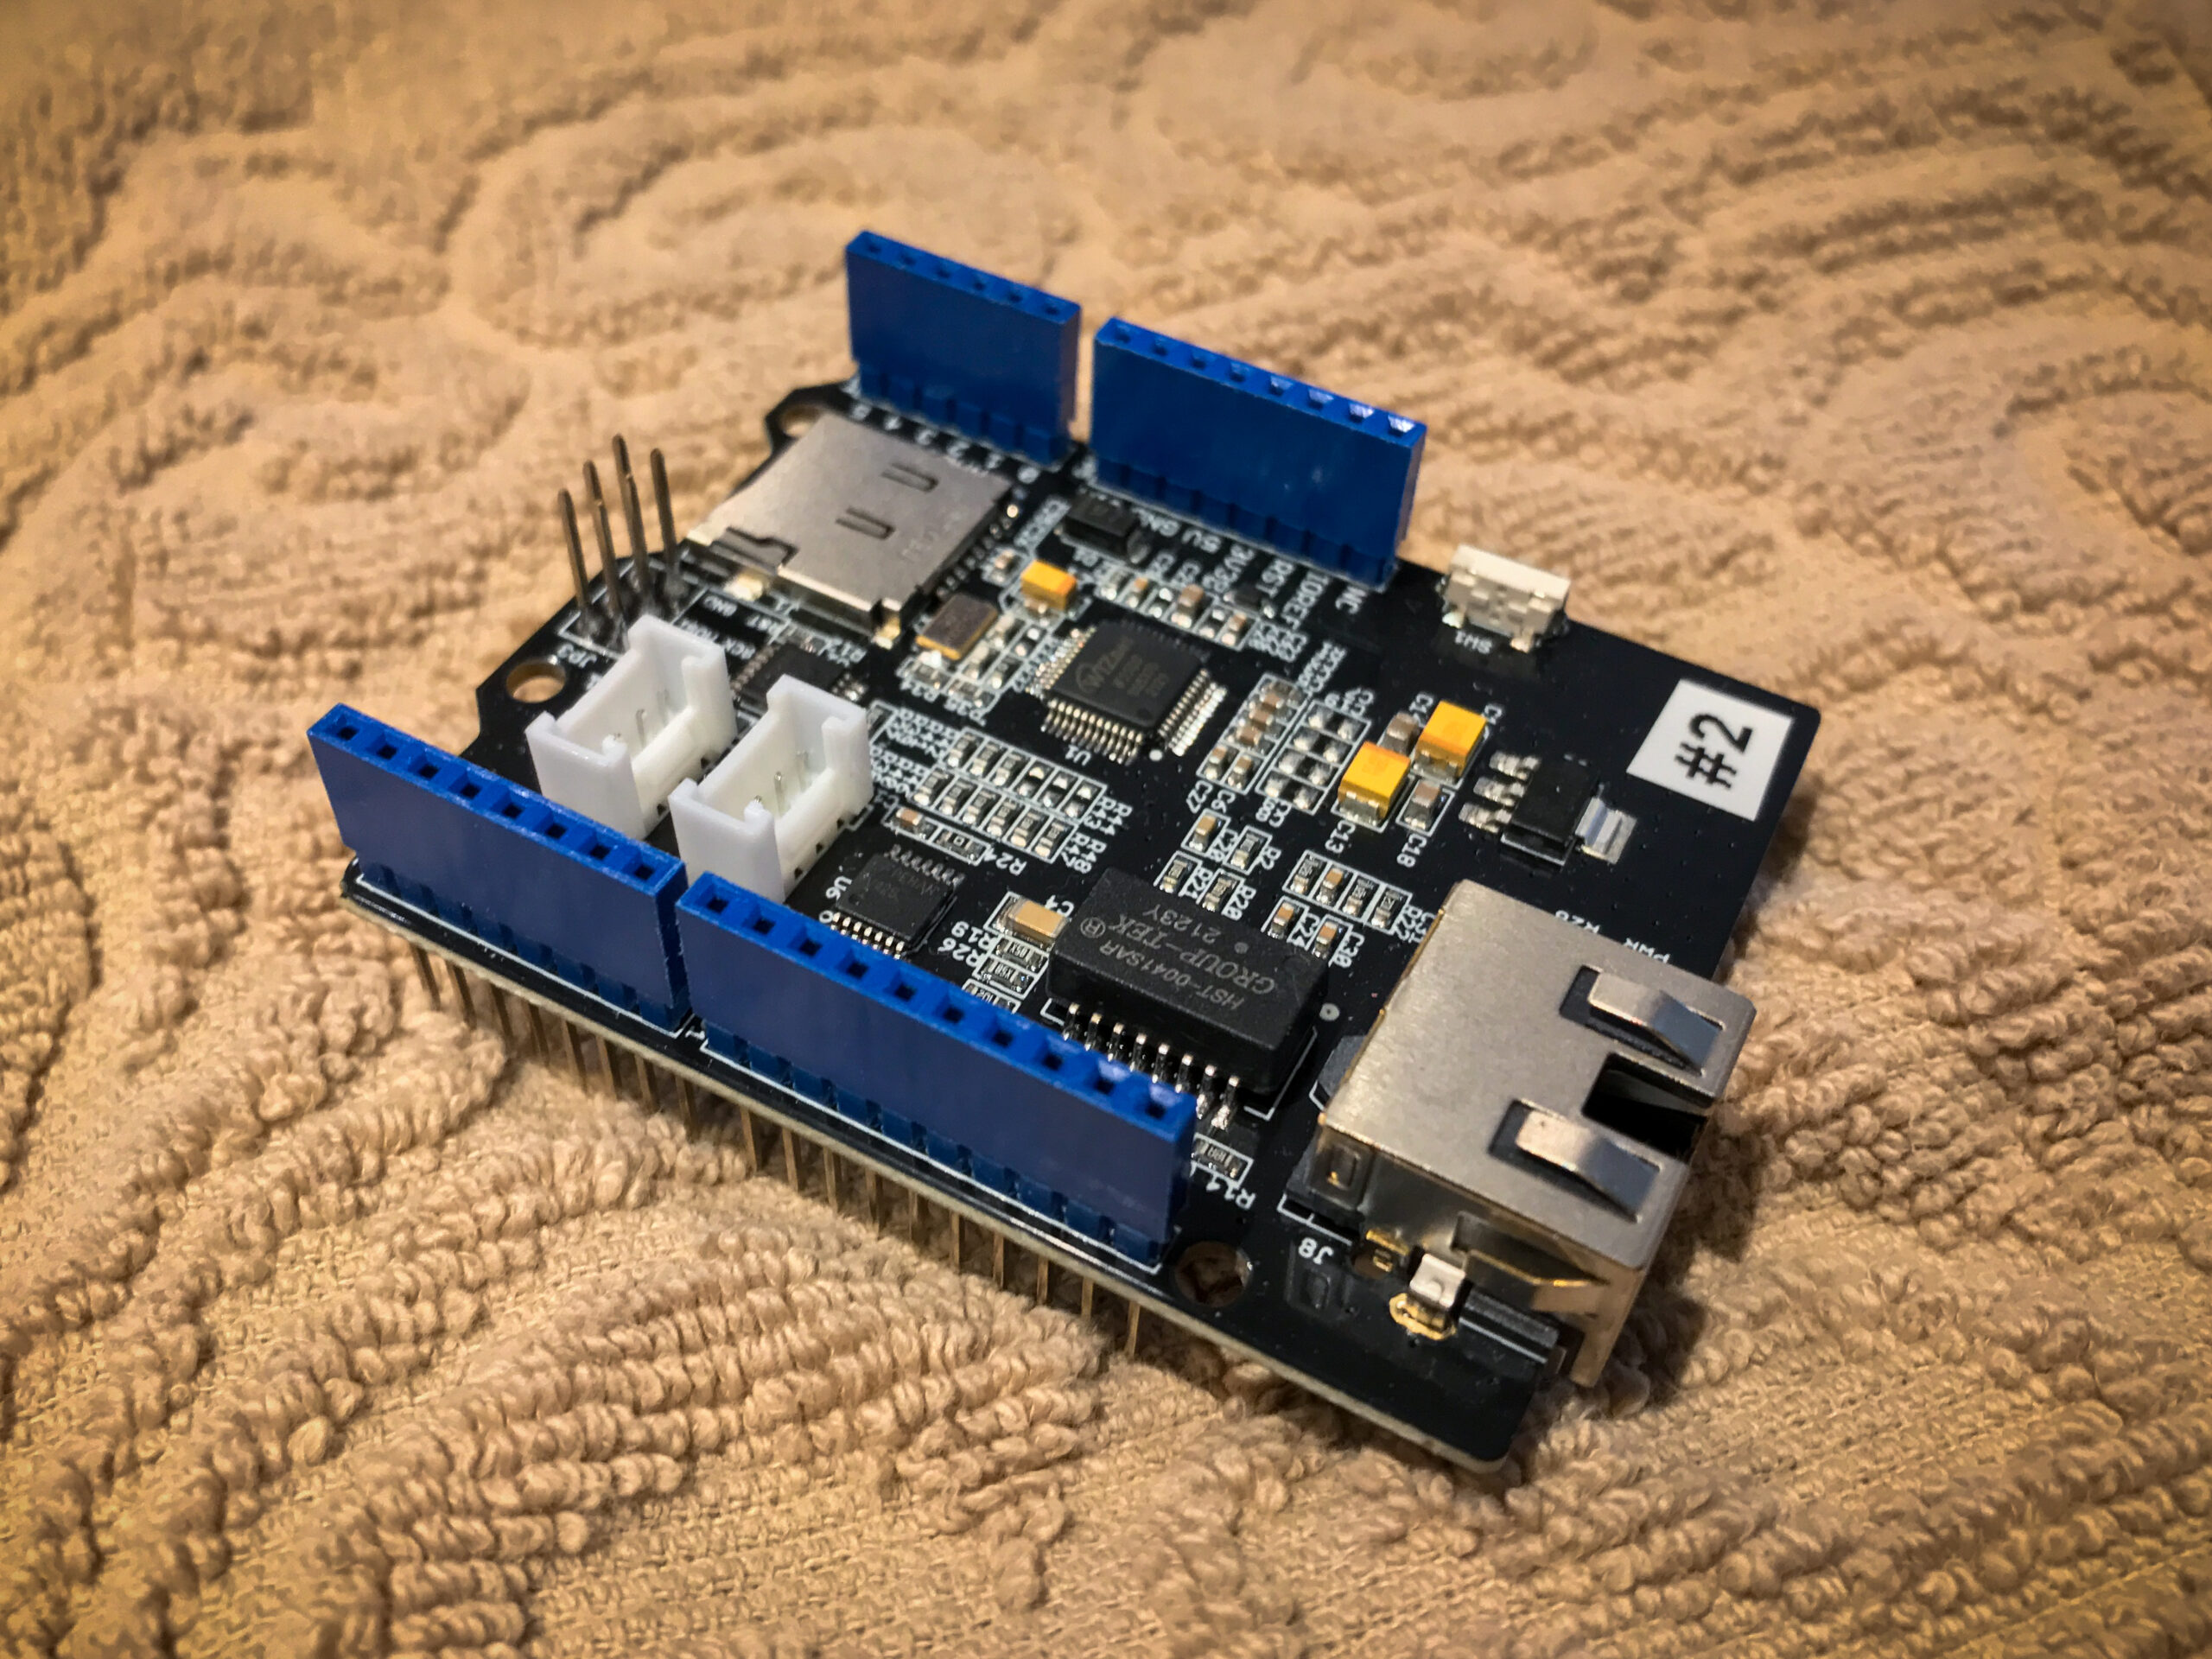
#2 – Ethernet Shield
This control board mounts directly on top of the Arduino and allows easy integration of the SD card.
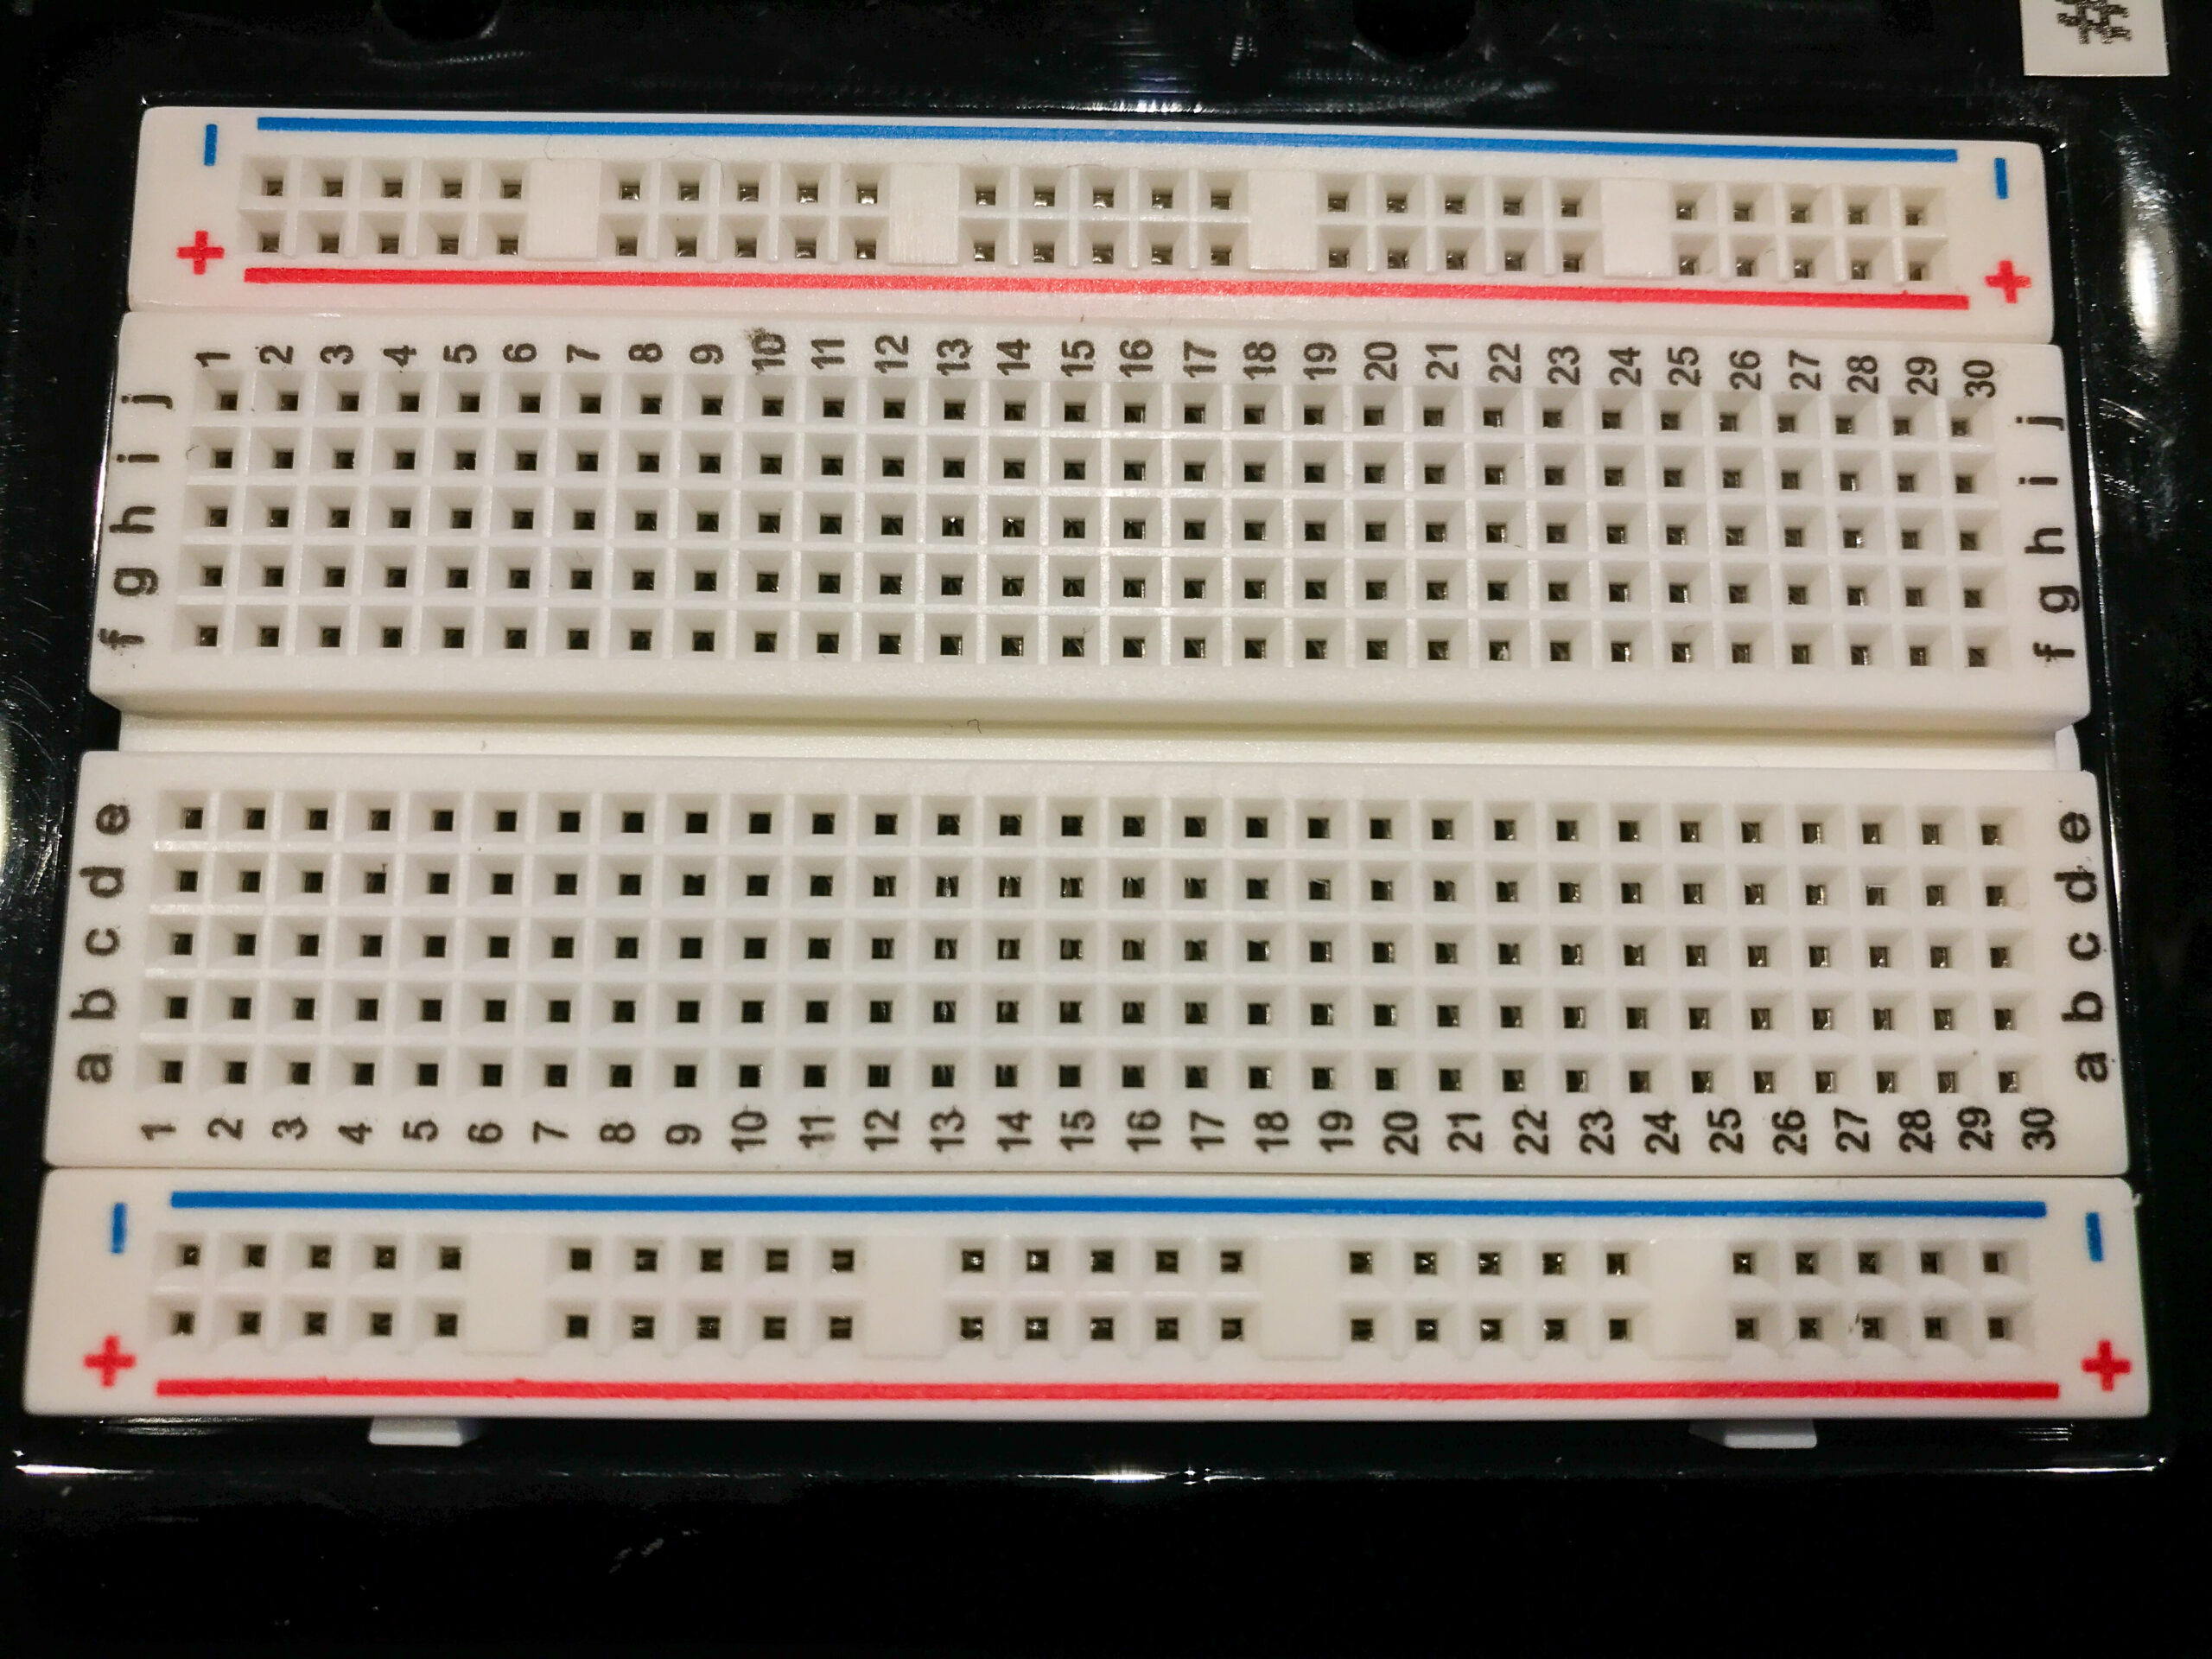
#3 – Breadboard
This white electronics board sits next to the Arduino and is where the GPS Breakout Board will be mounted.

#4 – Geiger Radiation Sensor
This is the sensor that will need to be shielded. It measures both Beta and Gamma radiation.

#5 – GPS Breakout Board
This GPS board receives satellite signals that provide the time, latitude, longitude, and altitude.

#6 – GPS Antenna
This antenna mounts atop the payload box and improves the GPS satellite signal reception.

#7 – SMA-to-uFL Adapter
This adapter allows the GPS Antenna to connect with the GPS Breakout Board.
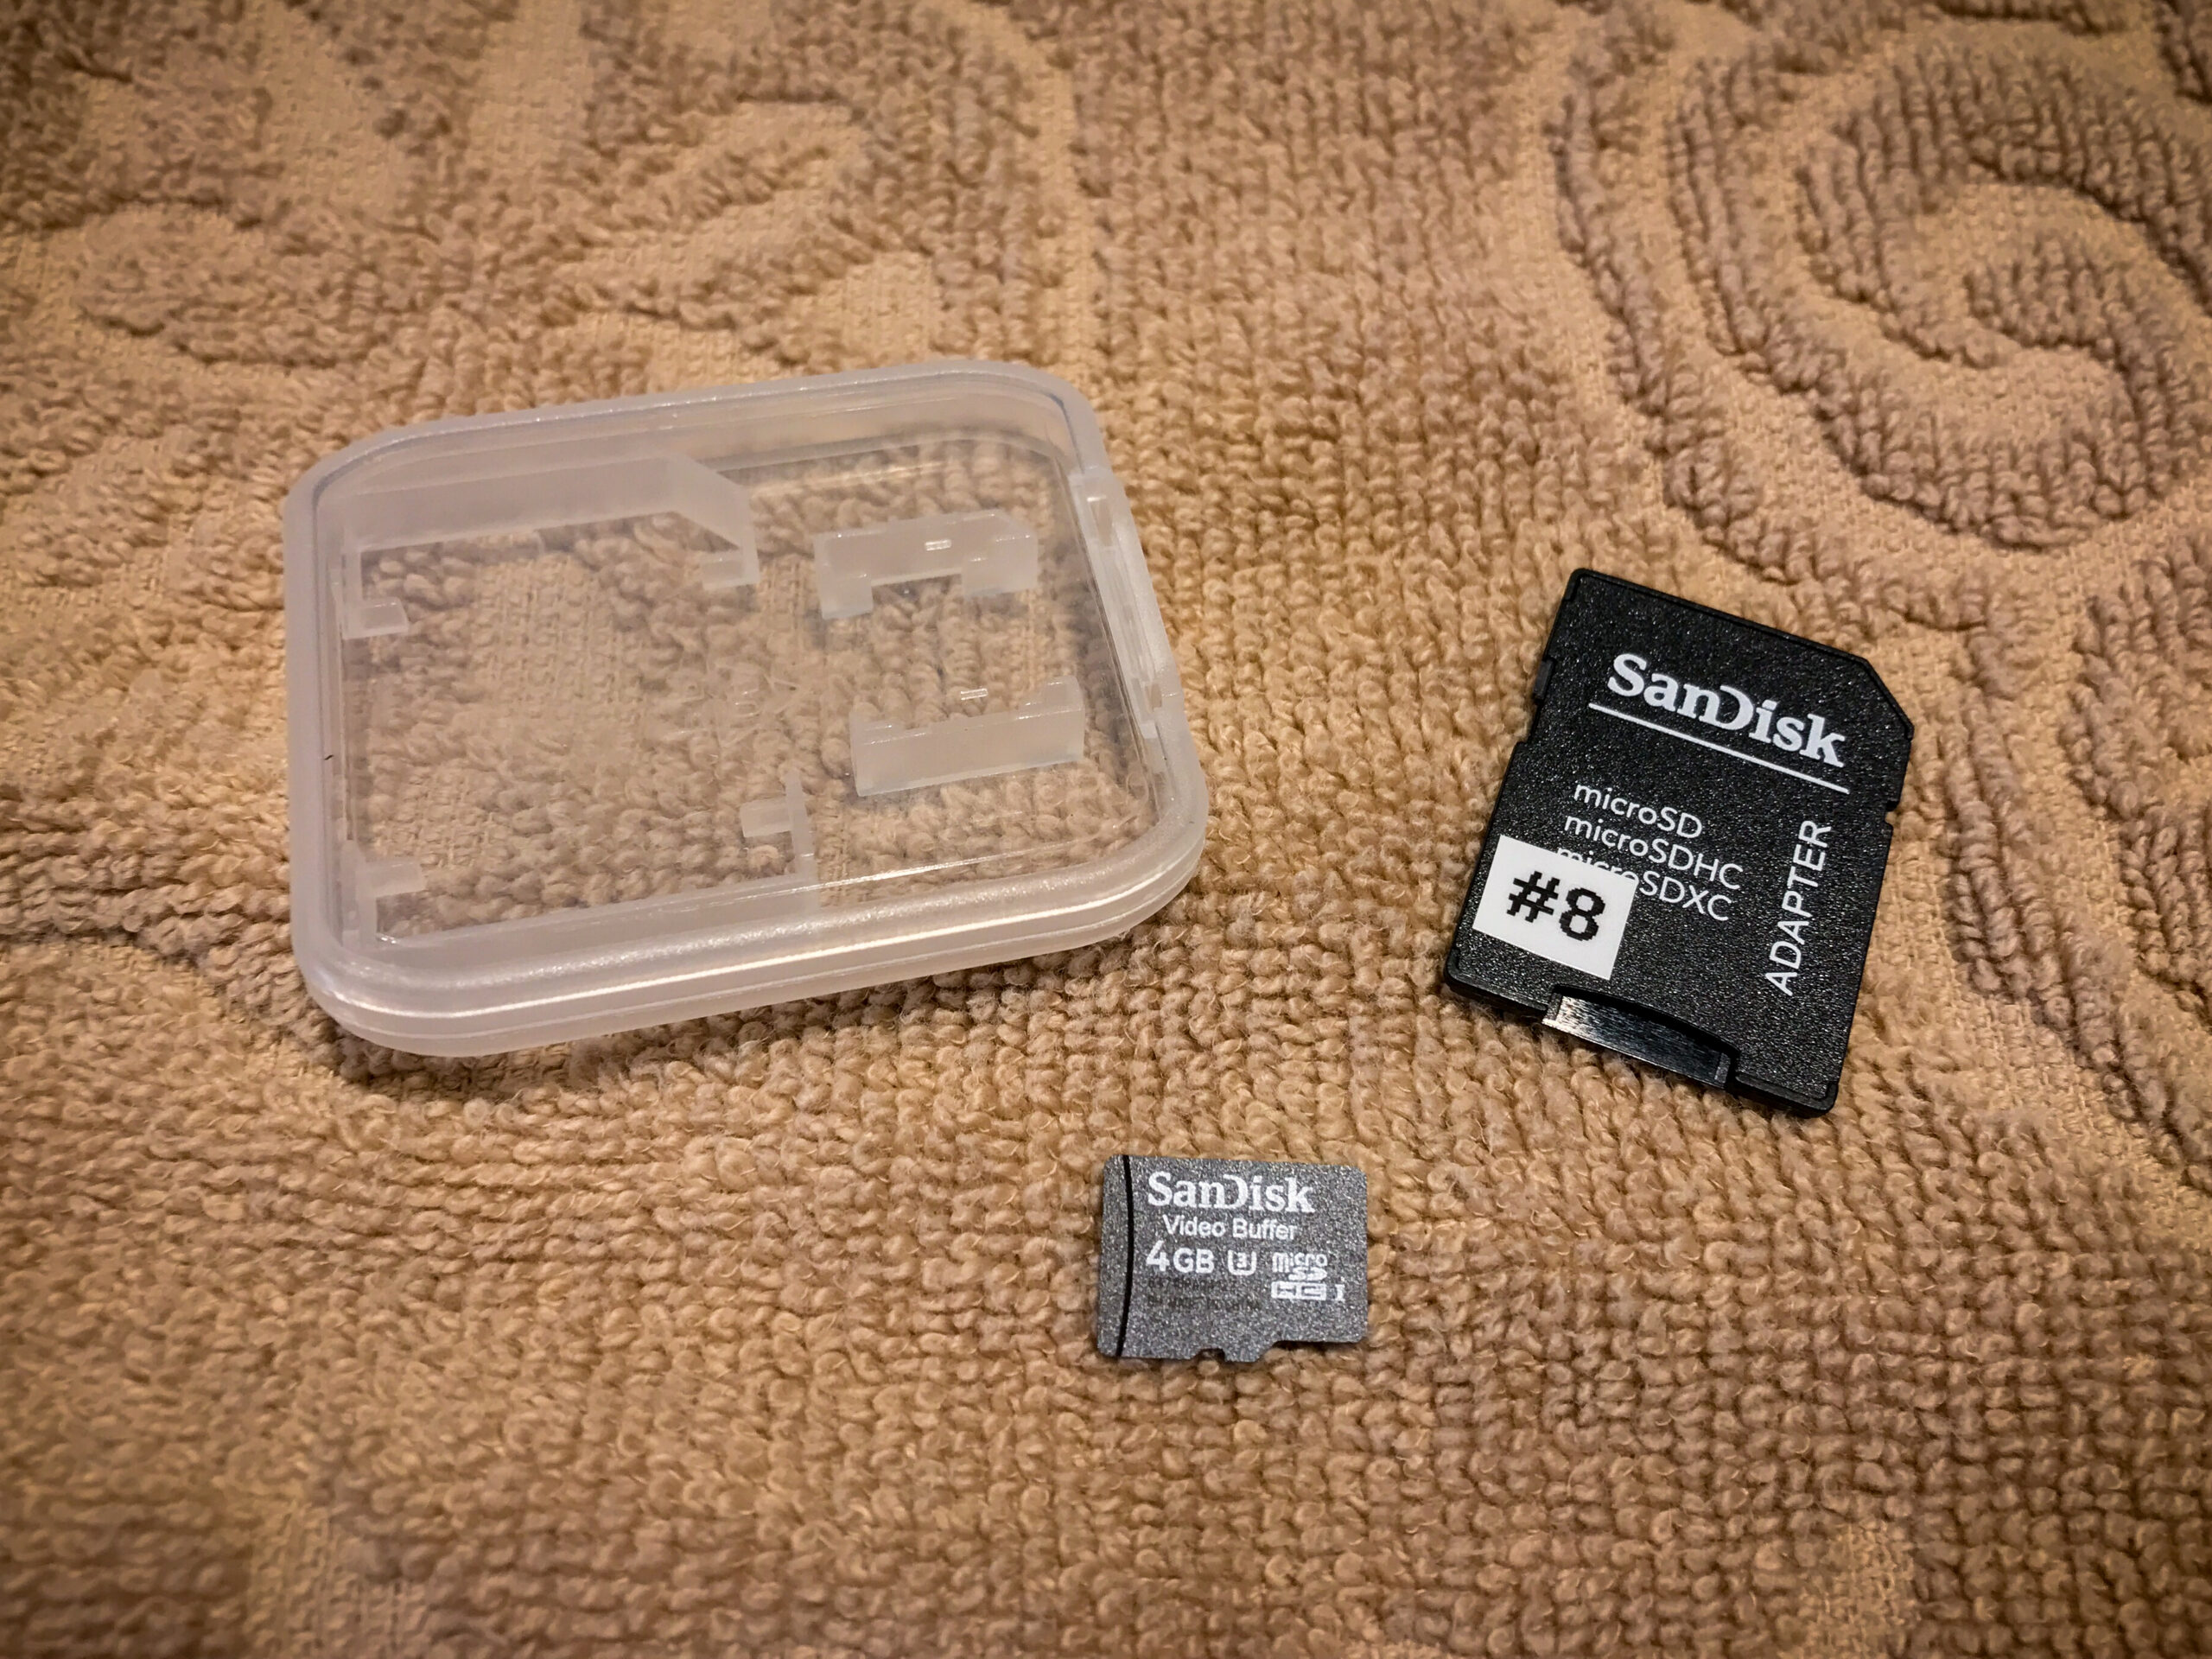
#8 – MicroSD Card
This small memory card mounts on the Ethernet Shield and logs all of the data during flight.
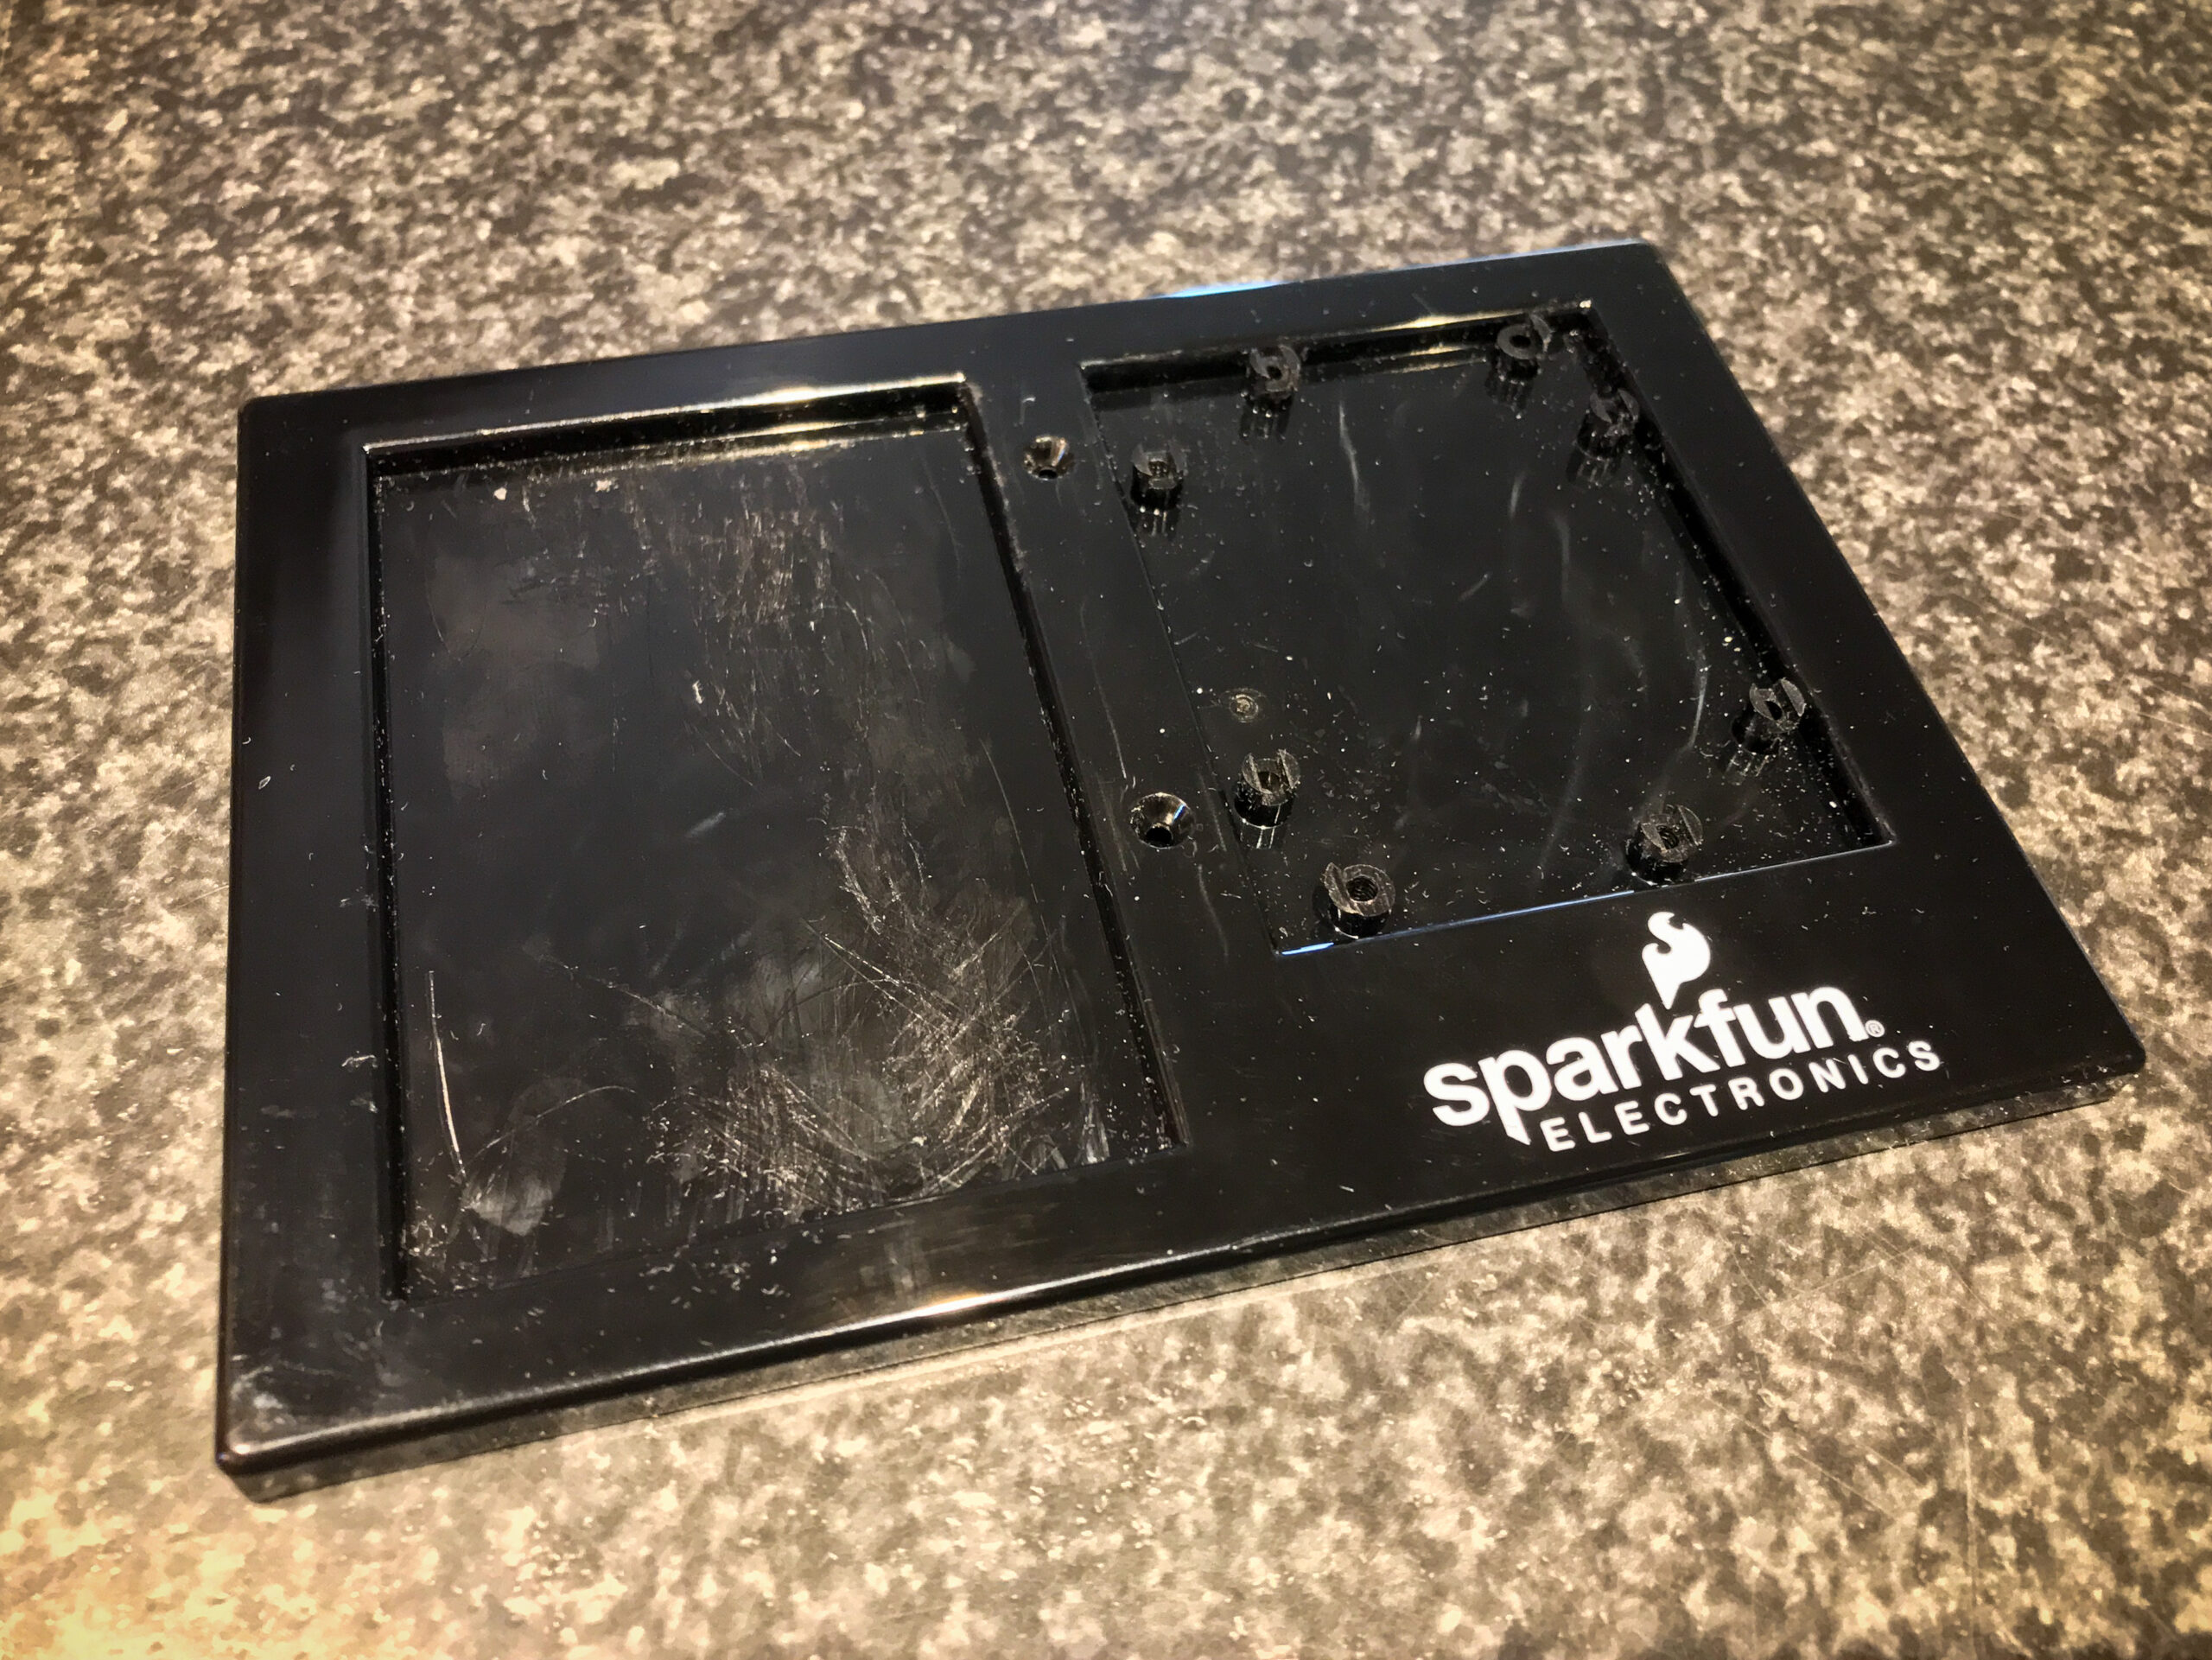
#9 – Plastic Mounting Tray
This black plastic tray holds both the Arduino and Breadboard so that they can be mounted as one unit.
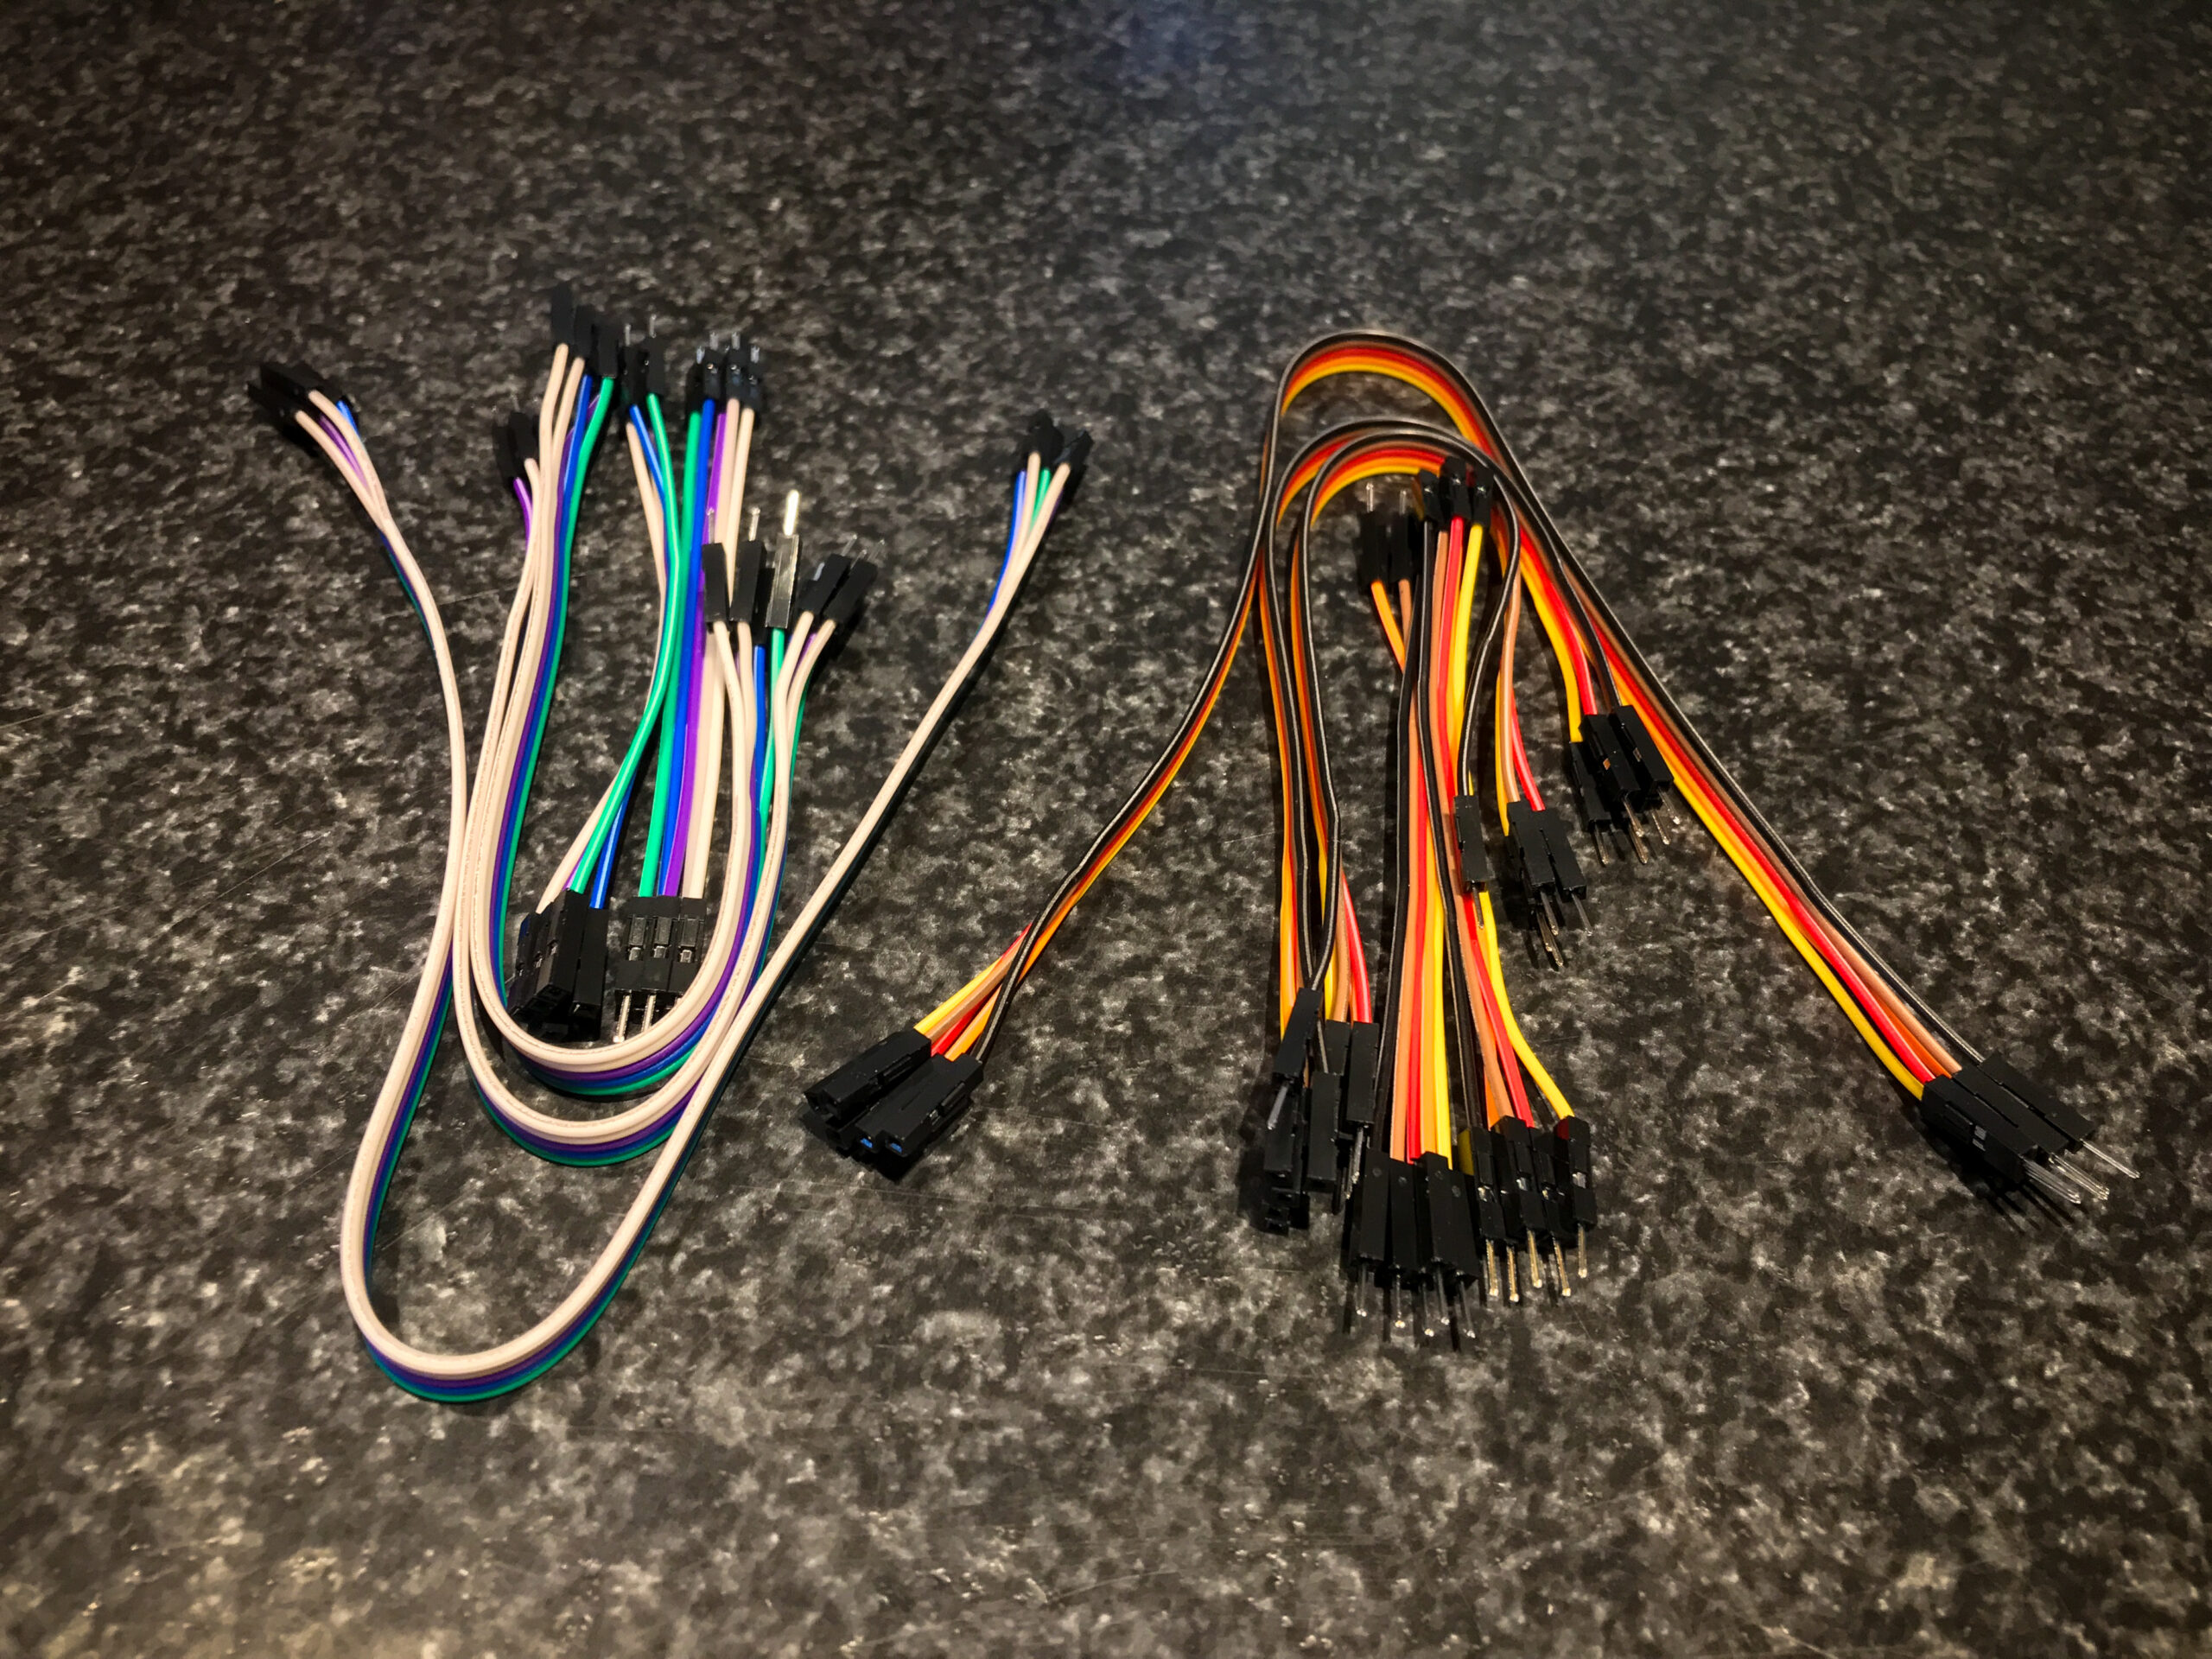
#10 – Jumper Wires
These wires are used to easily connect the sensors and electronic components to the Arduino.
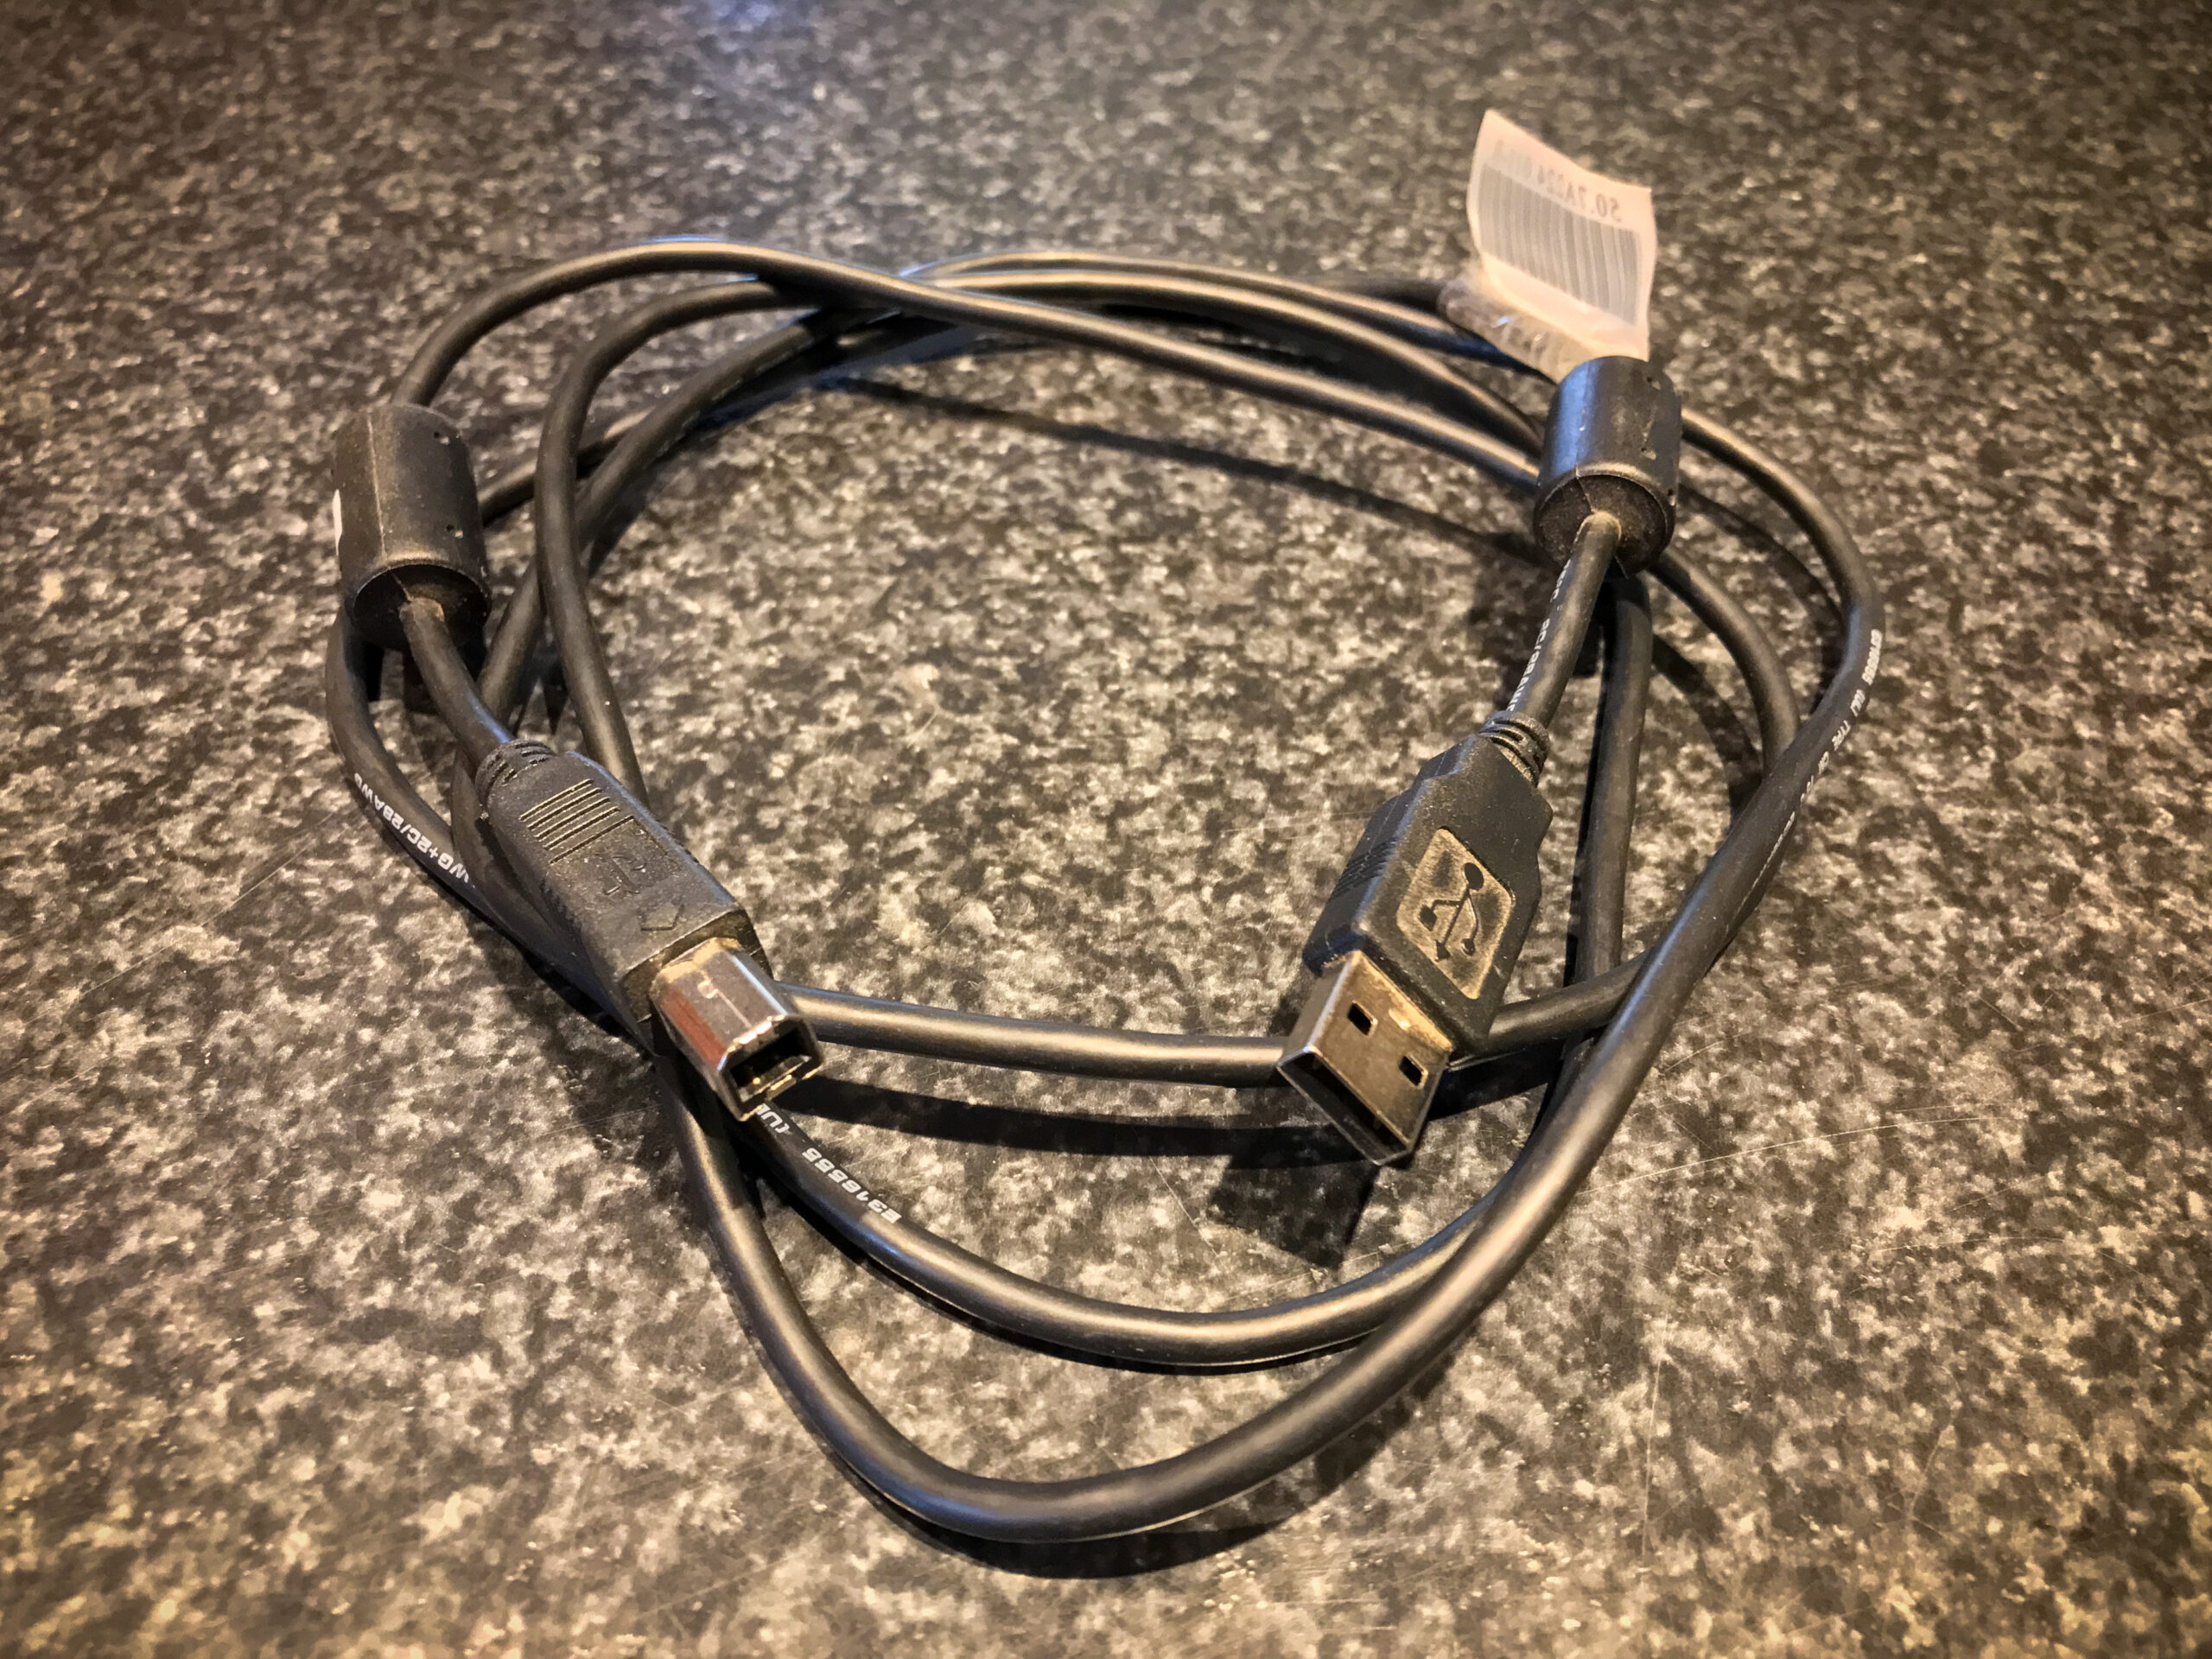
#11 – USB Cord
This cord is needed to connect the Arduino directly to a computer to upload code and test the payload.
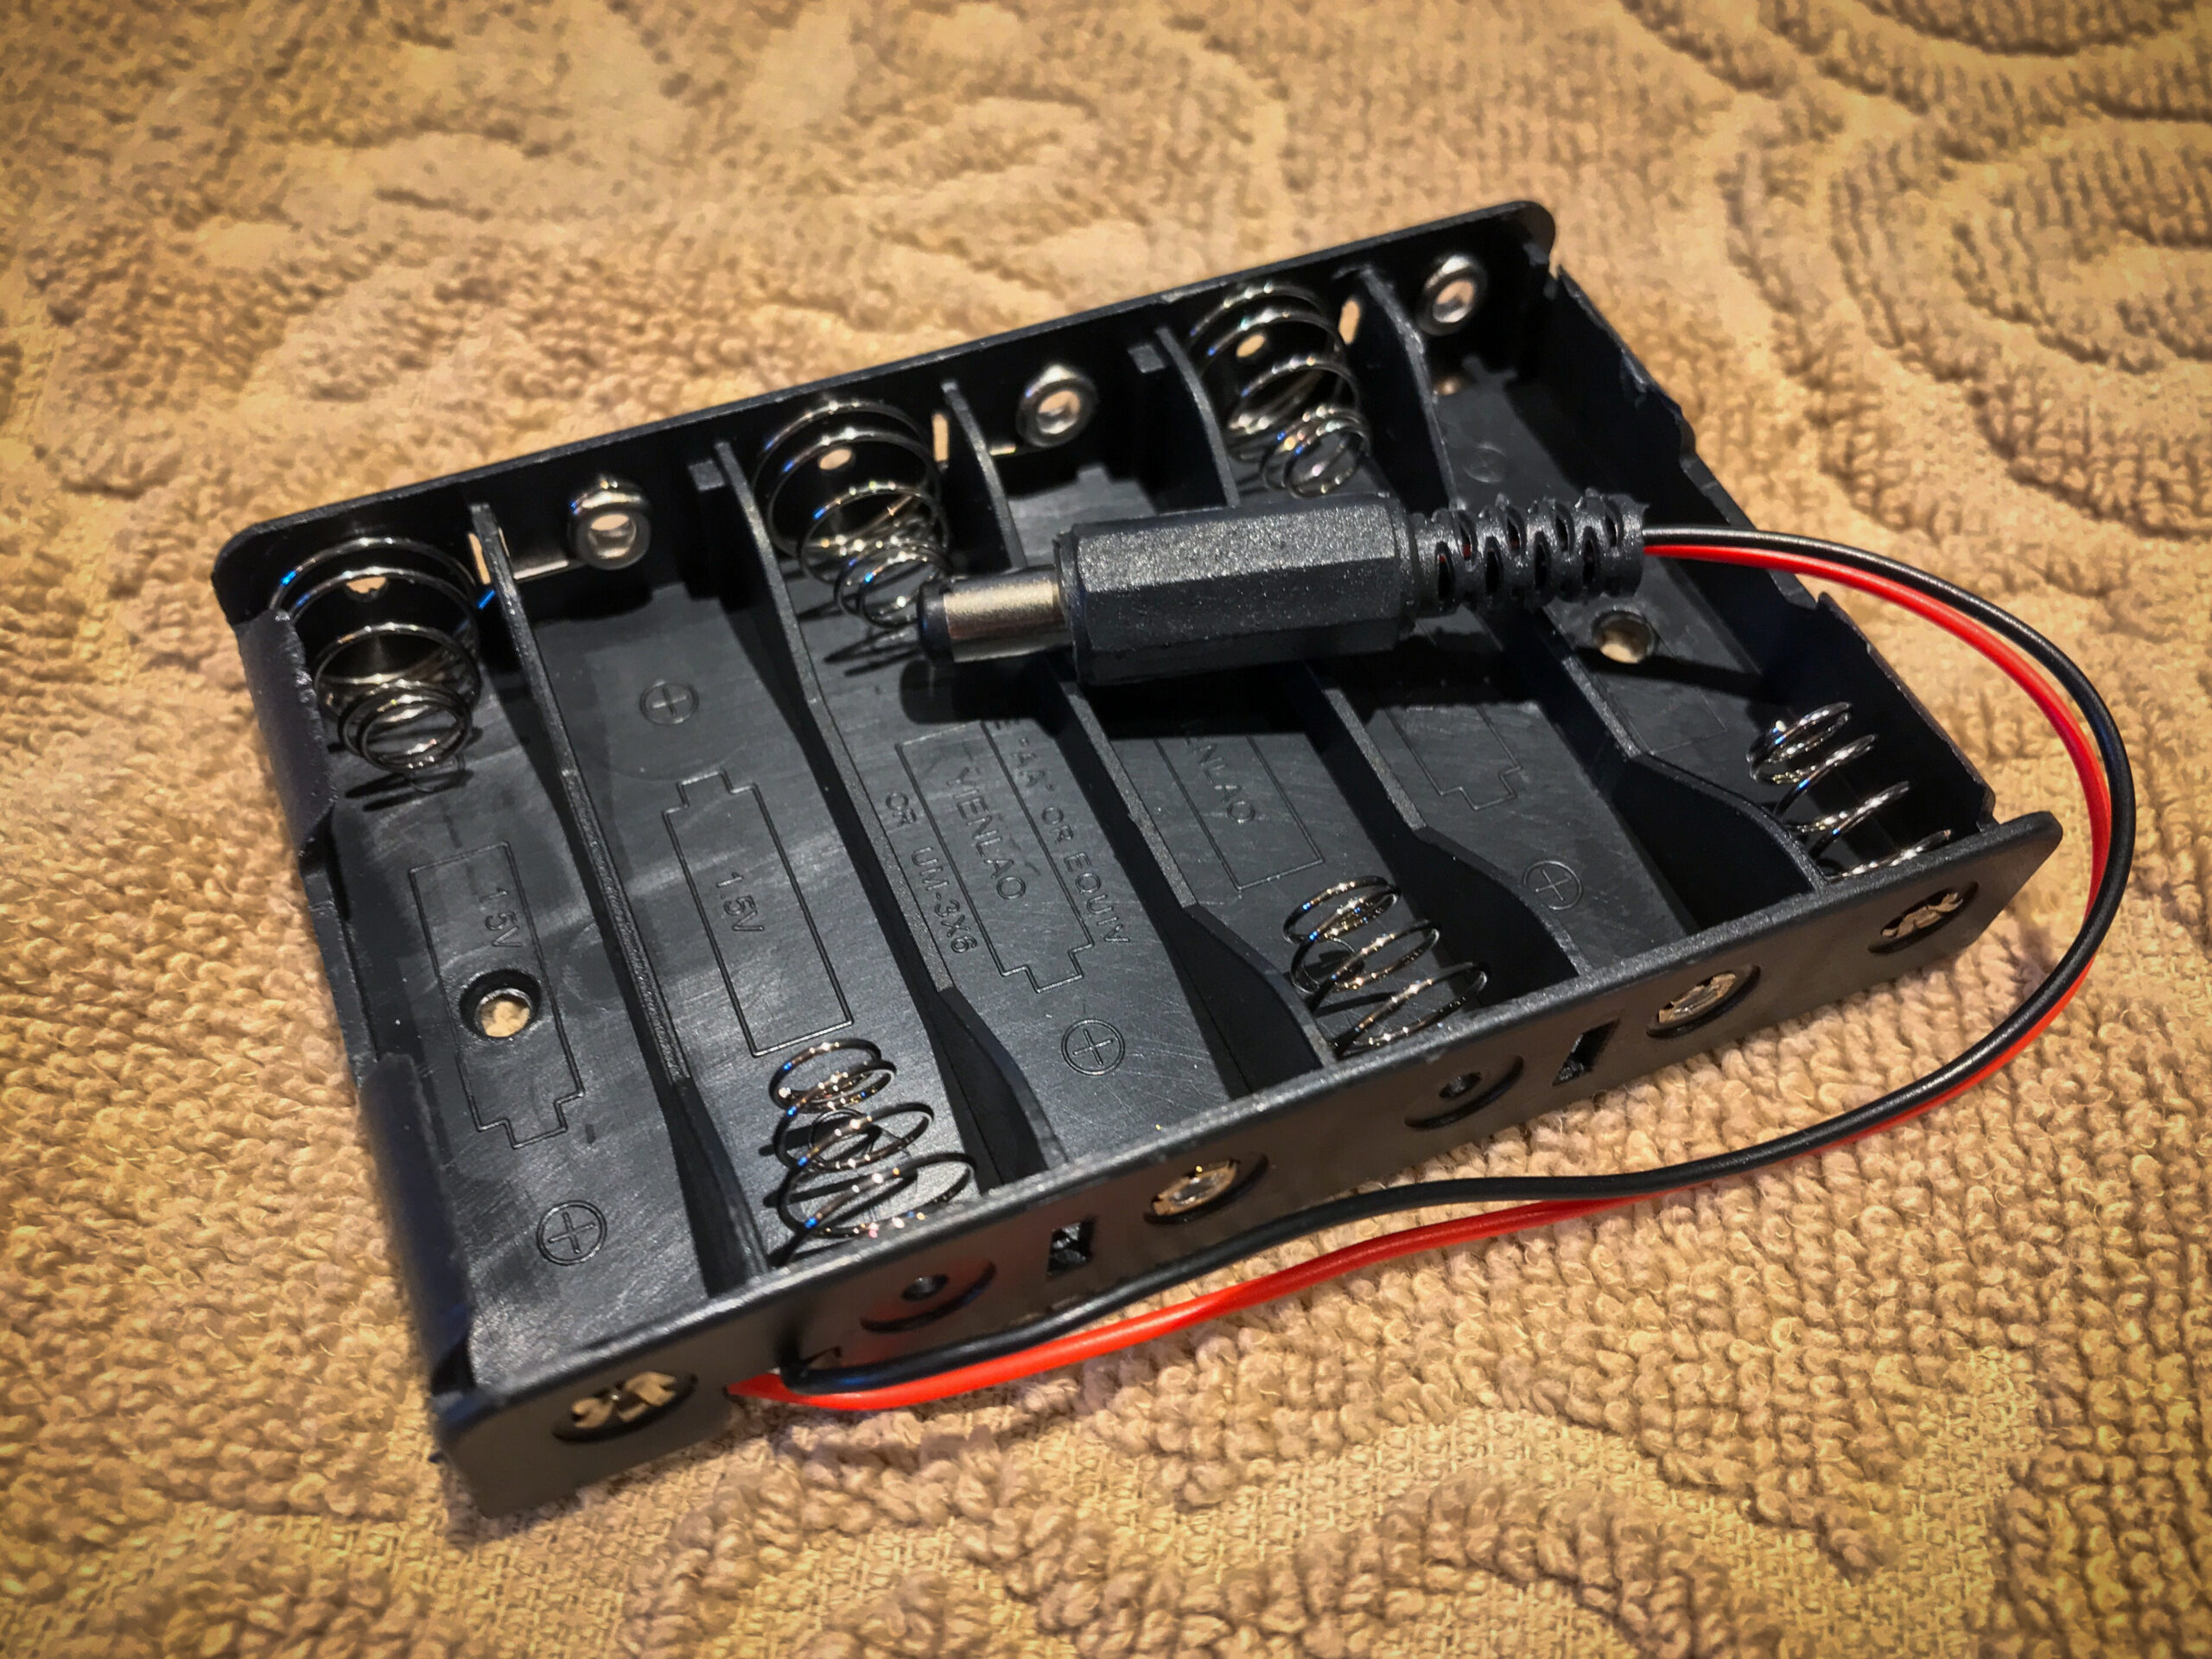
#12 – Battery Pack
This AA battery pack provides enough power to the Arduino to run the electronics during flight.
Once you have identified all the parts and have them in your possession, move on to Step 2.